This time we will be doing a power supply repair on the Acer AL2216w 22″ flat panel LCD monitor. This monitor uses the DAC-19M010 power supply board, this board is also used in the Viewsonic VX2235WM monitor and Westinghouse LCM-22W2 and a few LCM-22W3 units.
To do the repair you will need the following tools: Soldering iron, de-solder braid, Phillips screwdriver, small flat blade screwdriver and a 3/16″ nut driver. You will also need the following electronic parts: qty(2) 220uf 25v capacitor, qty(2) 1000uf 25v capacitor, qty(1) 470uf 25v, qty(1) 2200uf 10v and qty(1) 1000uf 10v. For information about getting the correct capacitors

Here is the monitor we will be repairing, this unit has no power but the power board can also cause a flashing or flickering display or a monitor that is slow to display a picture.

First remove the power and signal cables and the stand. Now lay the monitor on a flat surface and remove the 5 screws shown circled.

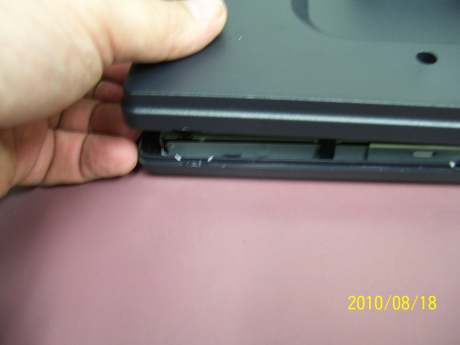
Remove the back cover by inserting a flat bladed screwdriver between the two halves and gently prying the case apart. There are plastic latches every 2-3 inches around the perimeter.

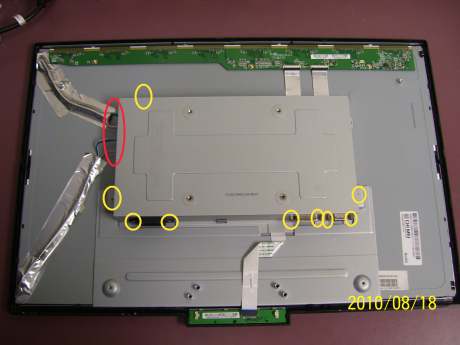
With the back cover removed the next thing to do is remove the shielding. First remove the 4 3/16″ nuts on the VGA and DVI connectors. Next we need to remove the small screws that hold the shield in place as well as the two screws that hold the power plug.

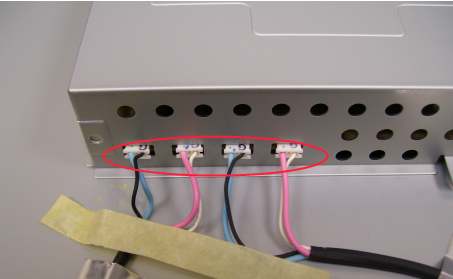
This picture shows the backlight plugs. These will need to be unplugged. When plugging them back in the order is not important.

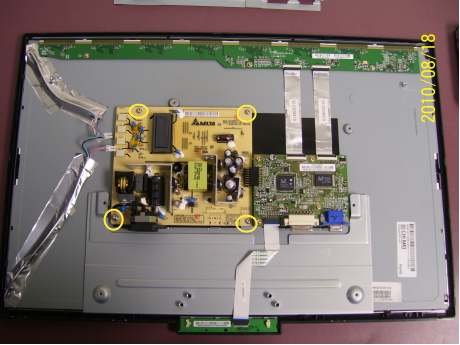
With the shield removed you can see the power supply board and the video board. To remove the board just unscrew the 4 screws shown circled and separate the two board at the interconnect.

Here is a closeup picture of the power supply board. It is model DAC-19M010. The parts to replace are shown circled in red. The location numbers and values are as follows:
470uf 25v C204
220uf 25v CE101 and CE108
1000uf 25v CE104 and CE103
1000uf 10v CE105
2200uf 10v CE106
Unsolder the old capacitors using the soldering iron and wick and solder in the new ones. Be sure to insert the new ones with the polarity stripe going the same way as the old ones.

